This month I’m blogging about science projects for a series of STEAM (science, technology, engineering, art, and math) posts with a group of my favorite bloggers. More on that in a moment. But first, I’m excited to share our contribution of Mason Jar Solar Lights for Kids, aka Easy and Affordable Night Lights!
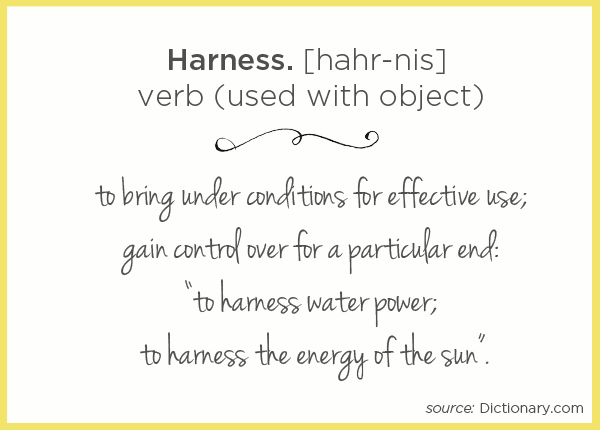
This week’s theme is harness, and here’s the definition that I’m going with…
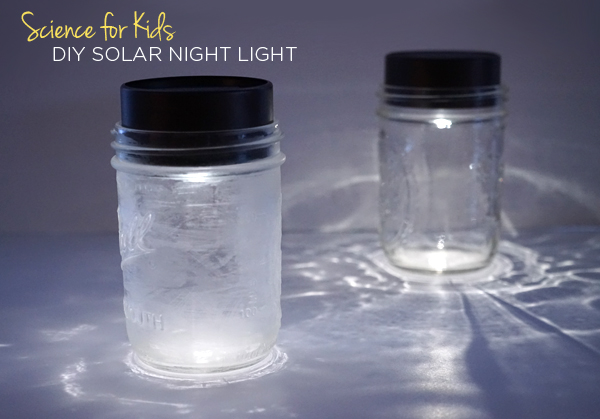
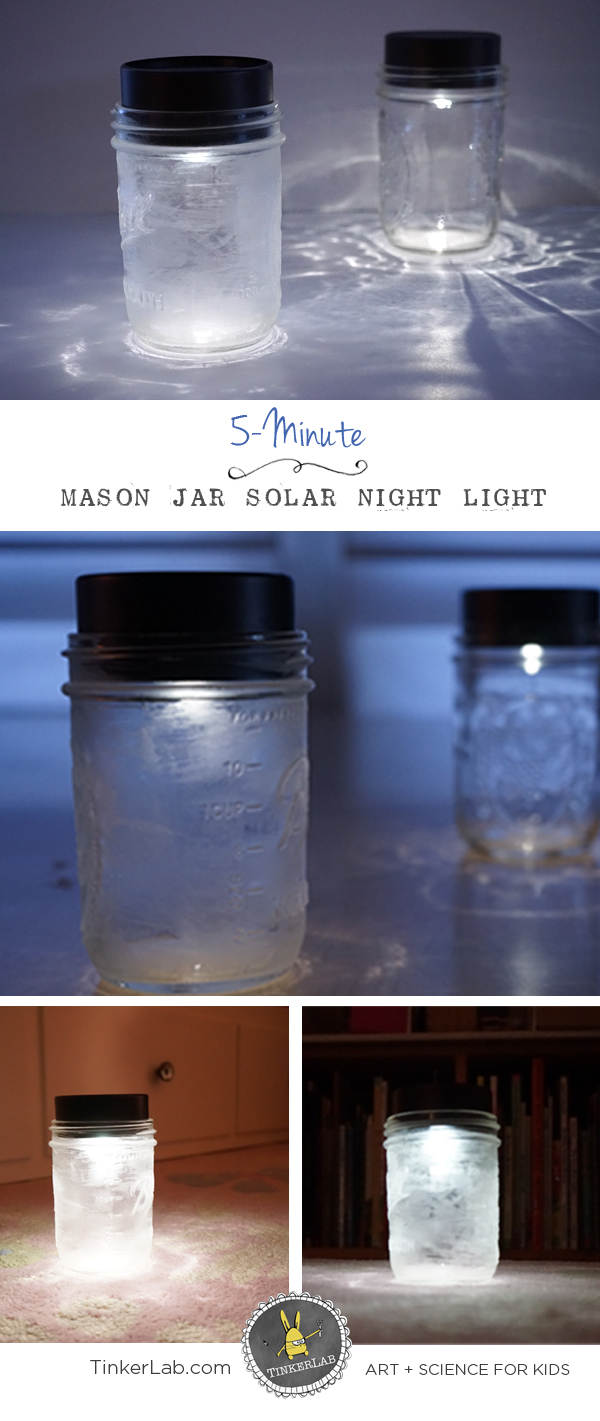
To get this going, my kids and I harnessed the sun’s energy and pulled together these quick, functional, affordable, and earth-friendly mason jar solar lights that my we can carry with us off to bed at night. These lights are all over the internet, and if anyone knows the original source of them, please give a holler! I’m giving ours a unique twist by turning them into night lights with frosted glass, although I’m certainly not the first to do that either.
However, I’m making this kid-friendly and sharing a cool art activity at the end of this post. Are you still with me?
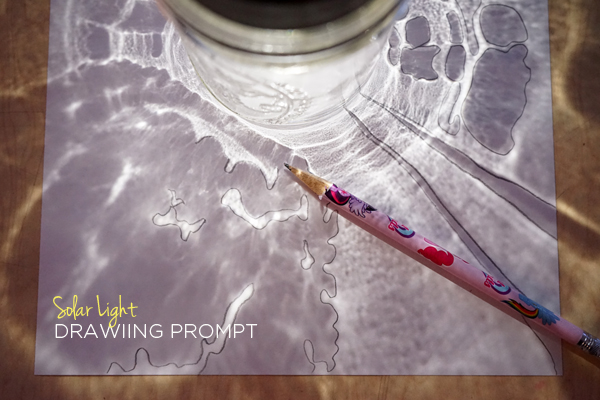
We made two lights: One frosted and one clear. The frosted light was preferred as a night light and the clear glass was a hit as the source of a drawing prompt.
Note: This post includes affiliate links
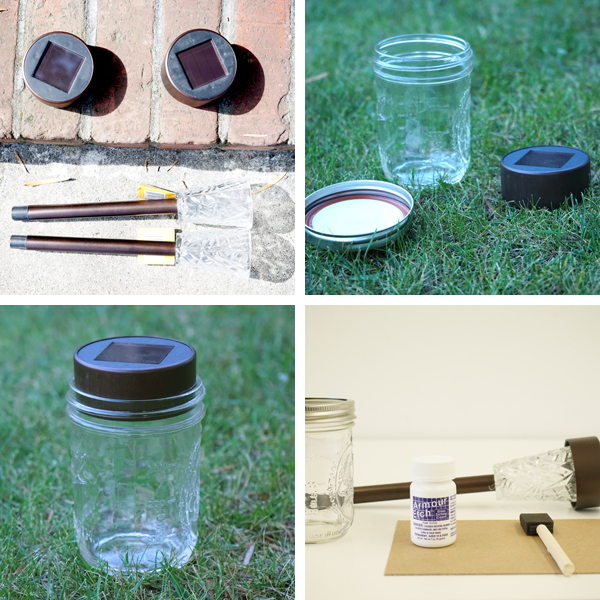
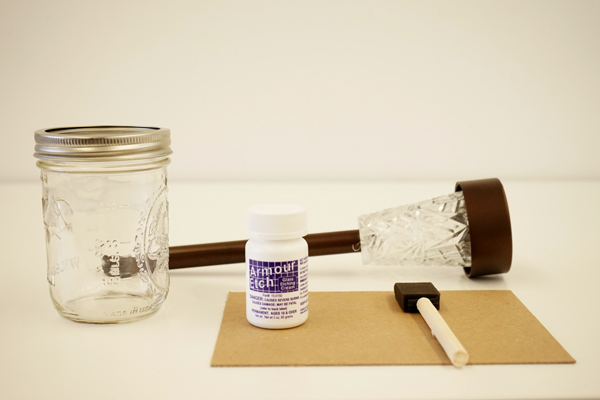
We also made a frosted jar. Or I should say that I made a frosted jar with etching cream which is not at all kid-friendly. Etching cream is NOT to be used by children and can burn skin. Please be cautious, wear gloves, and carefully follow the instructions on the etching cream jar for safe usage.
For the tinkerers, after you twist off the top of the light unit, take a look at the underside and you’ll see a battery pack, wires, LED, and controller board.
On the side that faces up you’ll see solar cells. The solar cells are connected to the battery via a diode. The battery gets charged during the day, and the diode tells the battery current to stop sending a current back to the solar cell at night.
Also inside the unit is a photoresistor, which senses darkness and signals that the LED should turn on when it doesn’t recognize very much light.
Once our awesome and affordable Mason Jar Solar Lights were done, we used them for a fun drawing prompt. Click over here for the full project.
If you’ve been a loyal TinkerLab fan (thank you! you mean the world to me.) you’ll know that I’m happiest sharing projects that live at the intersection of disciplines. Too often we’re quick to separate science from writing or math from art, but when we seek out ways to make interdisciplinary connections, learning can be more meaningful and novel discoveries can be made.
In that vein, over the next few weeks I’m joining a creative group of engineers, scientists, educators, and artists to launch a new series called STEAM Power, which celebrates interdisciplinary learning with projects that circle around STEAM (science, technology, engineering, art, and math) ideas. This week’s theme is REACT, and you can see the other reaction-related ideas here:
Simple Circuit | What Do We Do All Day?
You might also enjoy following my STEAM + STEM Activities board on Pinterest for more ideas like this.
Join the Tinkerlab network and be the first to know about simple art + science projects for kids, creativity tips, and simple ideas that will make your life more creative. Sign up for our newsletter.

In case you blinked and missed it, TinkerLab rounds up all the great stuff on the internets on keeping you and your critters creative and wraps it up for you in a tidy newsletter! (And throws in some secret giveaways for good measure!) – Yuliya P., San Francisco, CA